Using permanent marker I set the distances between the lines I have to draw. I use a long and straight piece of wood as a ruler. It does not matter if it is slightly curved as long as you use the same part of the ruler for all lines. Main advantage of making straight nylon parts is that it is much less work when drawing.
 I draw lines to cut the nylon, and lines to sew on. Make sure you draw the lines clearly so that they shine through the fabric, it is very practical when you are able to see the lines on both sides of the fabric.
 The nylon I used was shorter than the sleeves, so I had to join two pieces:
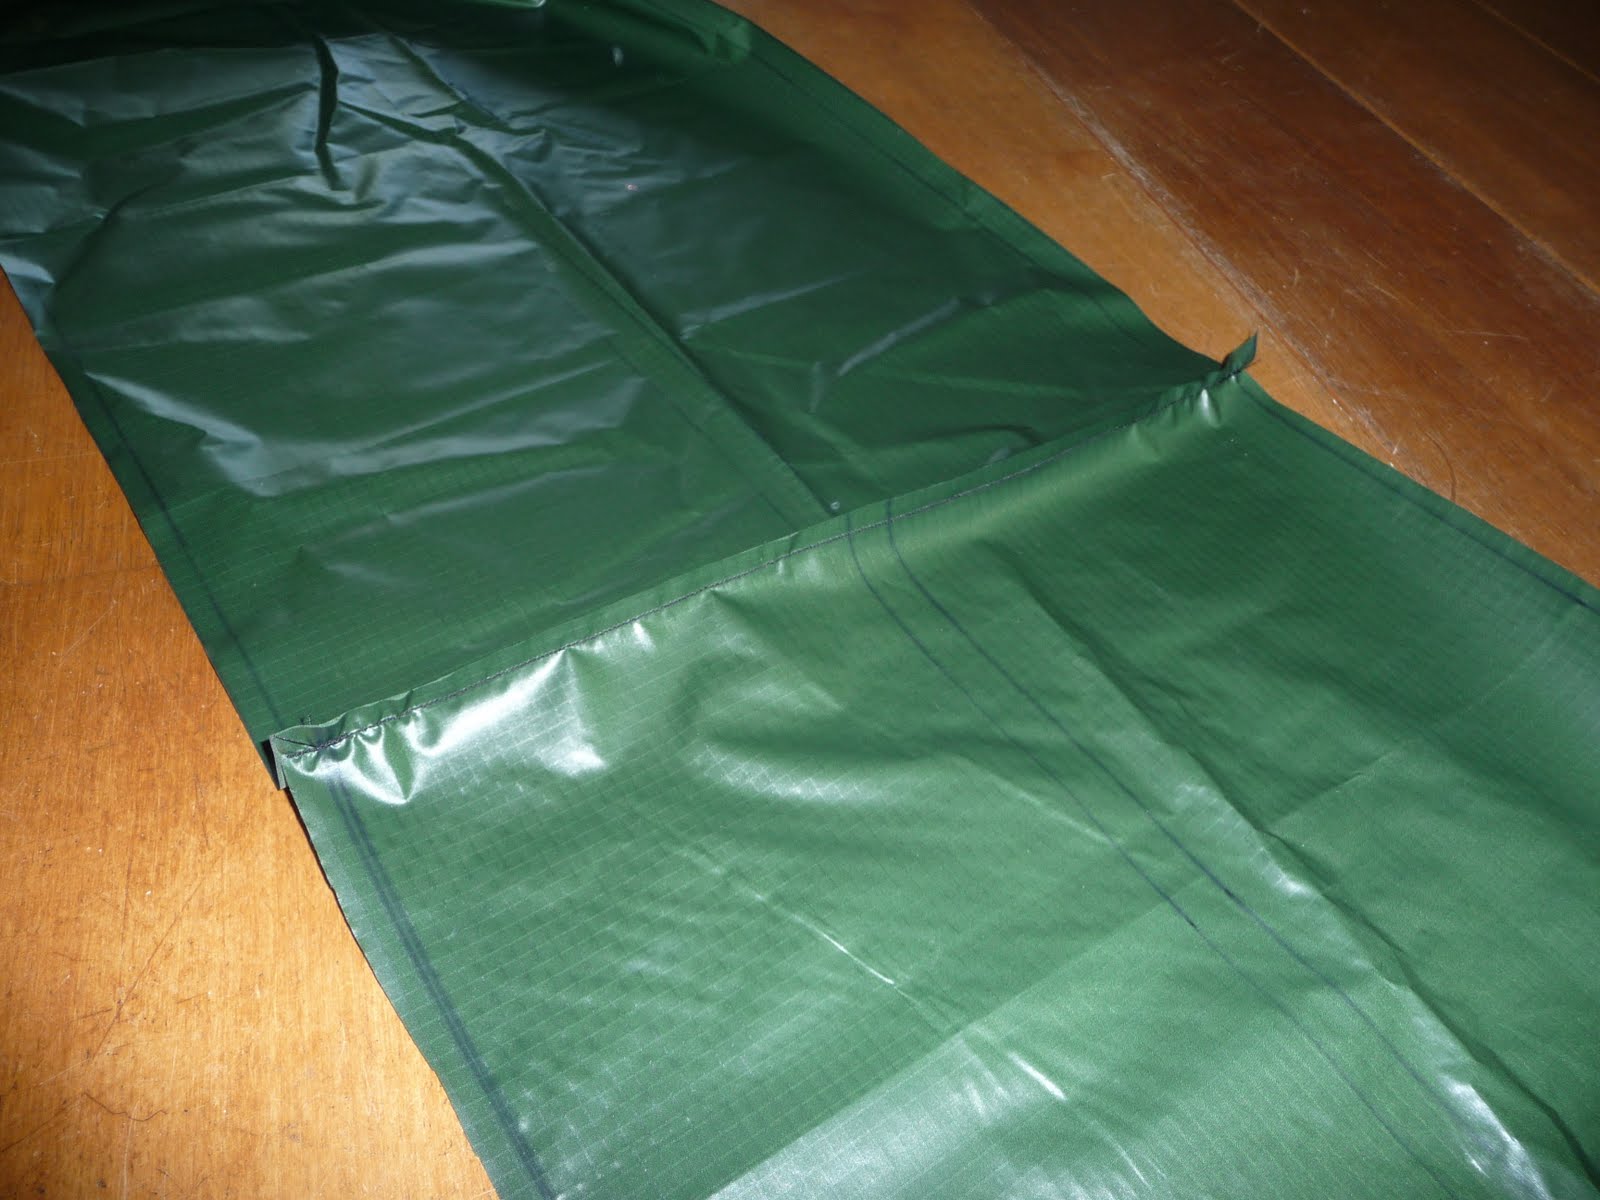 After that I use pins to fix the nylon on the PVC. Start out with the two central lines, and after that the edges. When you start with the edges you have a problem with the centrelines: you wil not be able to check underneath the fabric if it is exactly in position. When pinning the edges, work from the middle towards the ends. Here the centreline and one edge are pinned.
 I sew everything on my old and battered Vendomatic machine. My mother gave it to me years ago when she bought a shiny new one. But actually, for heavy type of work without fancy stitches this one is much better. It is very heavy, but cast iron stays forever. It is as old as I am (41), but still going strong.
The fabric I use is 64 gr/m2 Ripstop nylon for tents from ESVO, and the yarn is their polyester-cotton tent yarn. If you can get it, use a light colour for the nylon as it is easier to see the markes lines. Make sure you have sufficient yarn, I used a complete 125 meter bobbin only for he sleeves.
Sewing the sleeves done, it is now time to make the pockets for the ends of the side stringers. On the nylon the pockets can not be glued on, so I thought of a different solution.
First I stitch on an oversized rectangular piece of PVC near the end of the sleeves.
 Then I cut this pattern:
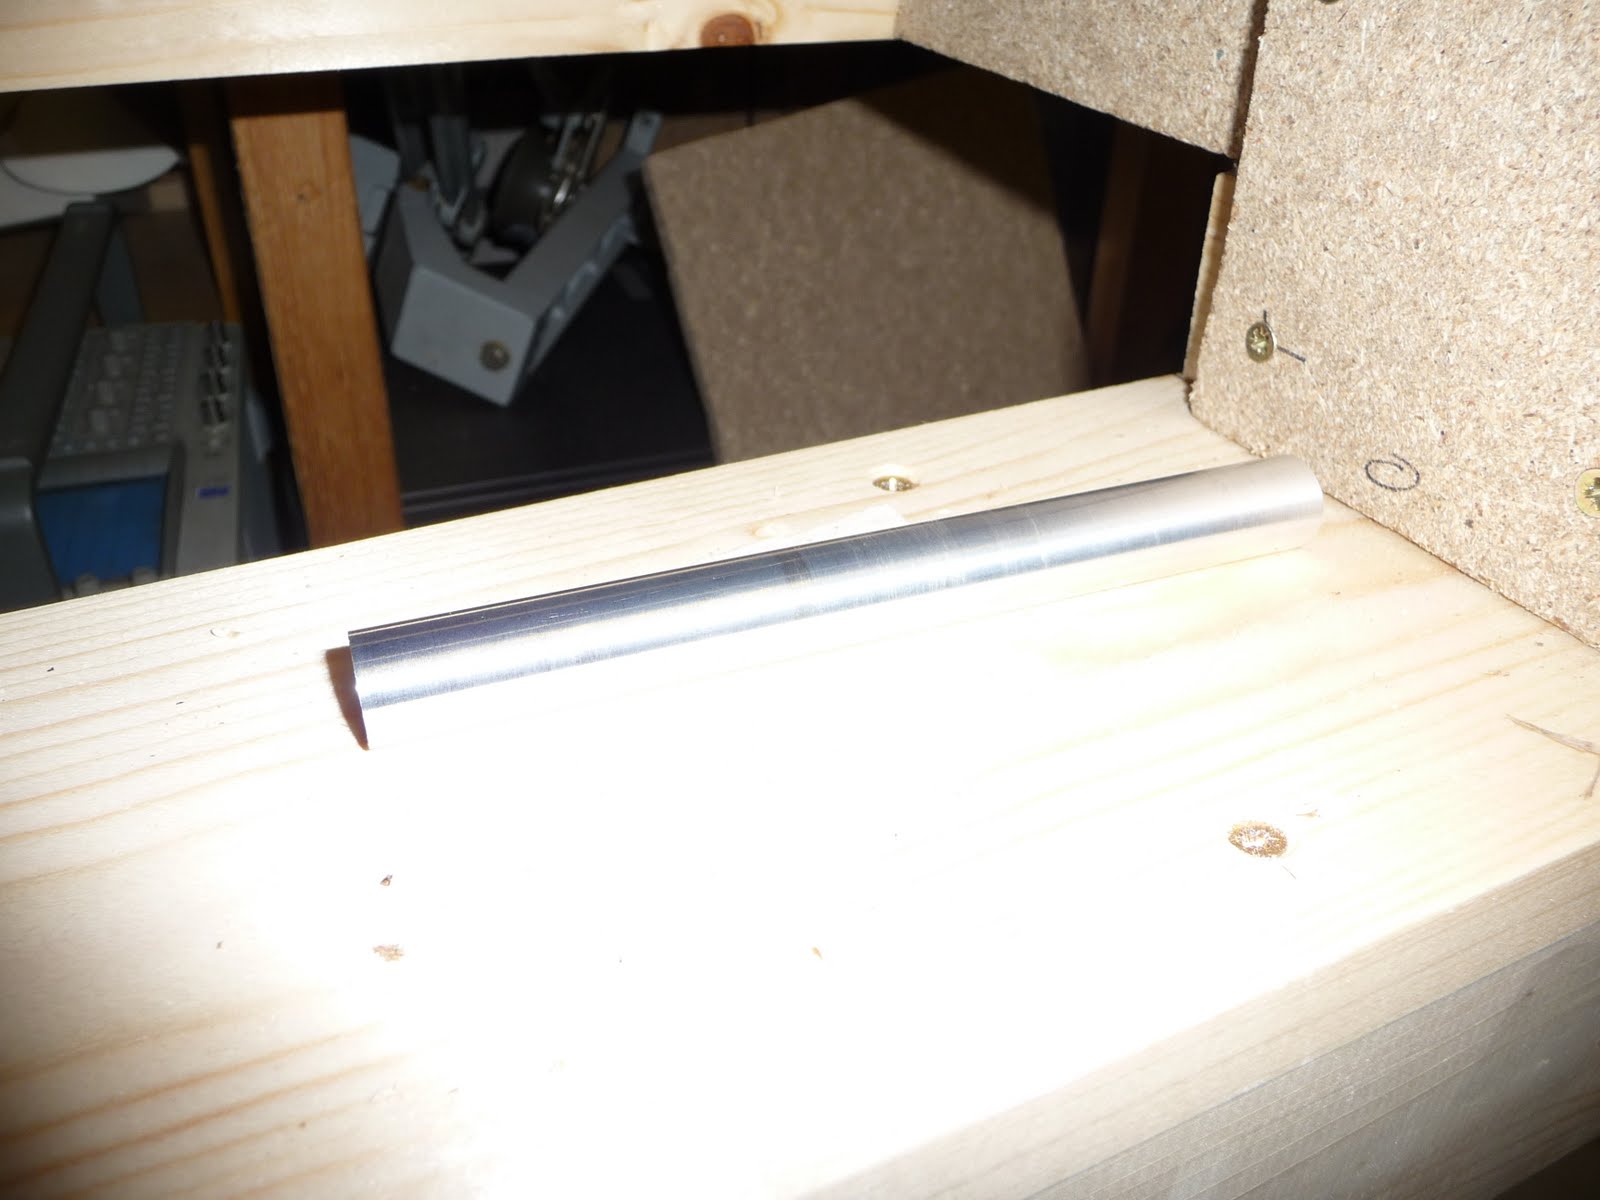
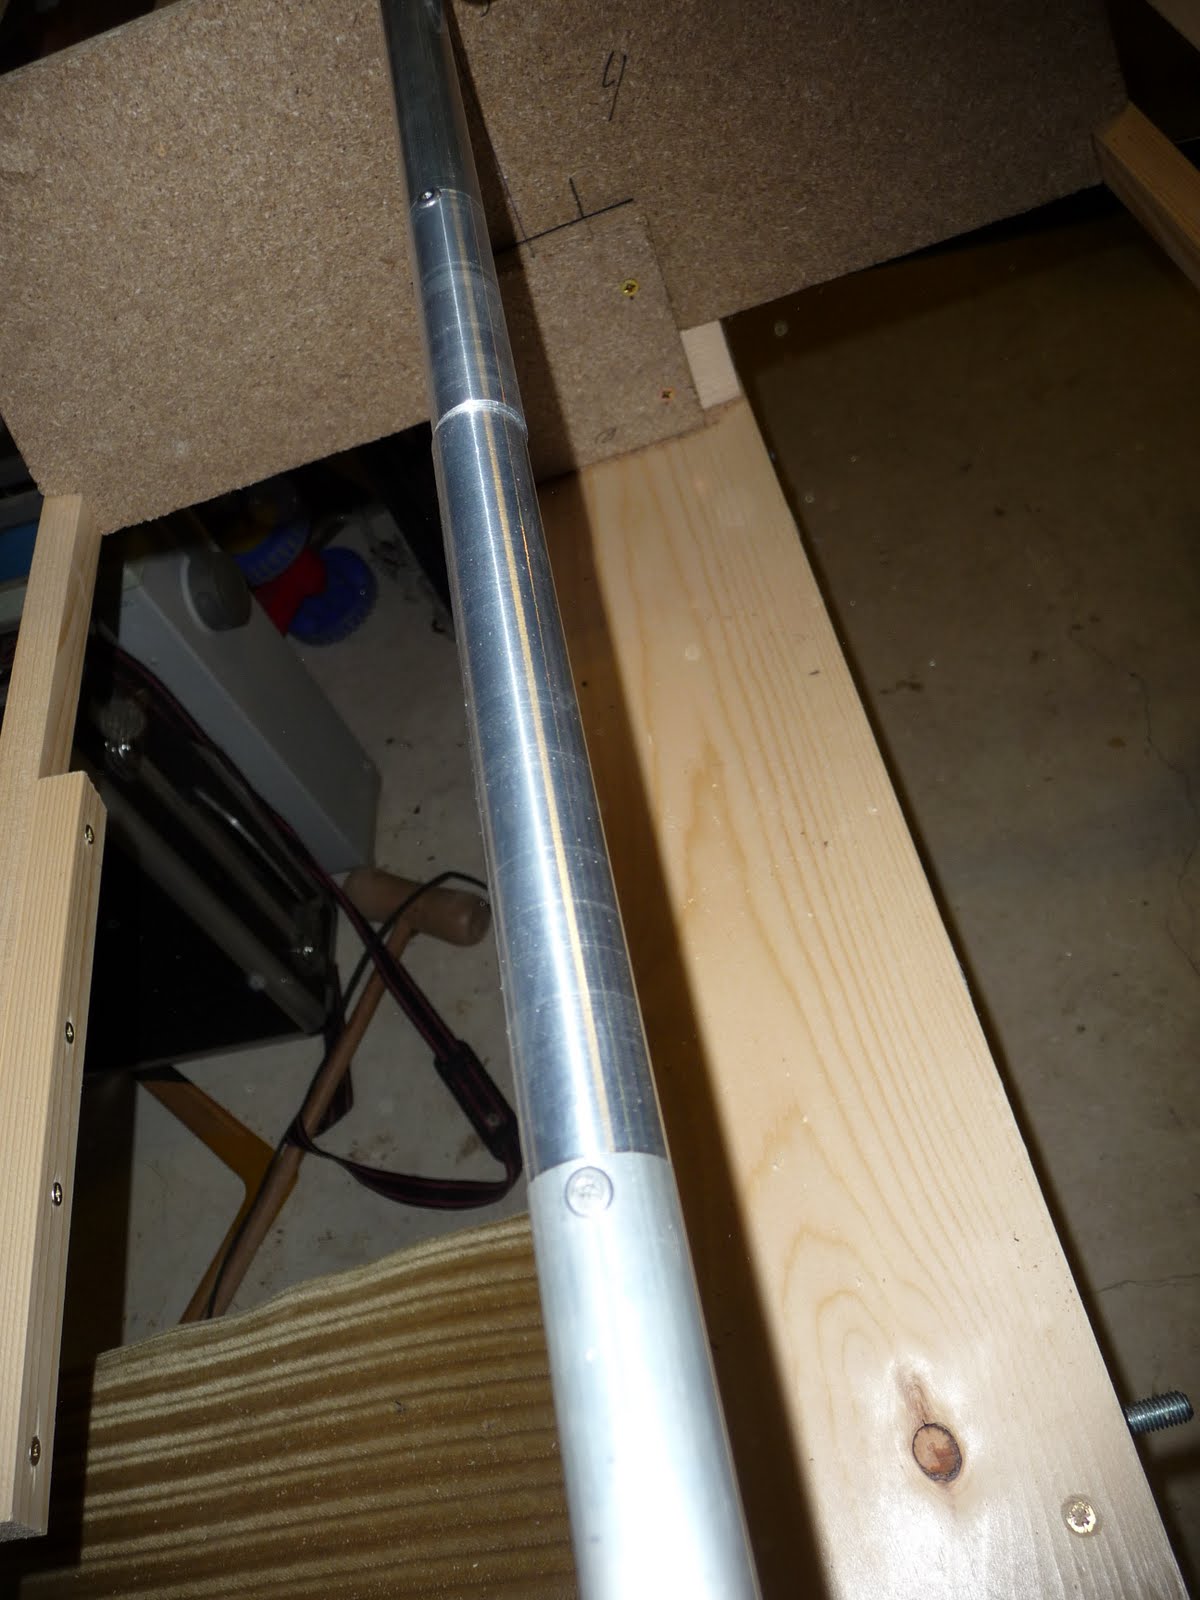
 Here the glue is on already, that causes the edges to come up. Now I put a piece of aluminium of 20 mm diameter on the PVC. I fold the lower flap over the aluminium, then two of the three little pieces around the end, then the big upper flap down and finally the last two small pieces. When you do this correctly you end up with this:
 And seen from the backside:
 No photograph of the completes sleeves yet, "Card full" said the camera.....
I put pockets on both bow and stern ends of the sleeves. Doing this I hope I can go without the straps that Tom uses on his boats. The staps are difficult to make as they have to be sewn onto the nylon.
The gluing of the pockets was the first real glueing I did. Before that I made a few test pieces. I use Helaplast glue, as I could not get HH-66 in the Netherlands. I tried various amounts of thinning and found out that with thinning the bond is better, probably because the layer of glue is thinner.
On flat surfaces it works very well to use a clothes iron in stead of a heat gun. The iron allows you to apply heat and pressure at the same moment.