 A first look of the boat with the yellow cover:
Trimming the deck requires some courage. It is a lot of material, so you do not want to make a mess of it. Using lots of tape it starts to look like a real kayak now:
 Leaving a few mm open the edge of the deck is lined with tape. The tape is used to mask the gluing area and to avoid runoffs of the glue:
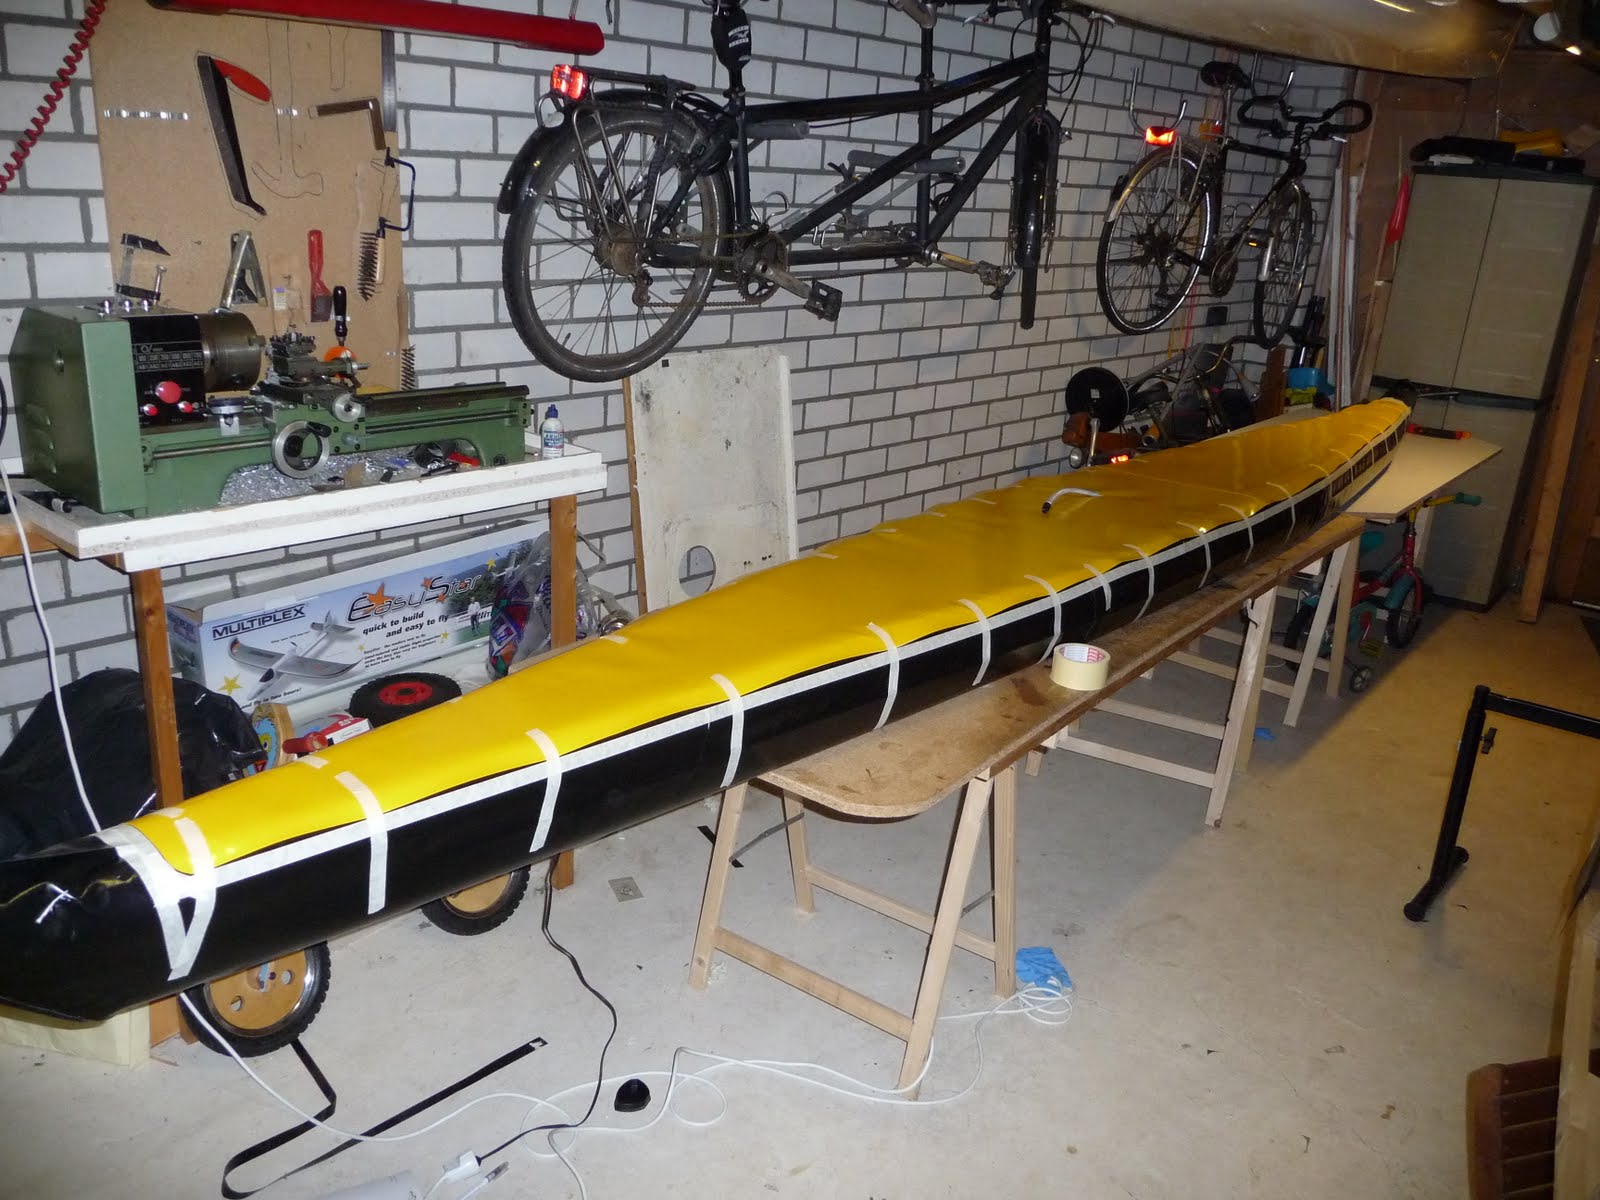 And in detail:
 After this the glue is applied and the deck is taped in place with a LOT of tape. With less tape is is difficult to avoid wrinkles.
 Working from the middle to the ends the heat gun is used to bond hull and deck together. Be carefull to minimise the amount of wrinkles at the hull-deck joint. The result:
 And in detail:
 Now the ends are still wide open. First I will close them crudely, afterwards they will get a proper and nice cover. As is is difficult to apply pressure when bonding without a frame or sponson, I filled the ends with foam or the like. The stern:
 And the bow:
Now I close the ends as good as I can do it, but is is difficult to make them look nice. Some small cuts are required tro avoid big wrinkles. After this the stern looks like this:
 Again the stern:
 And the bow:
 I agree, it does not look to well. But come back for next blog, and you will be surprised with the final result.
No comments:
Post a Comment